
Last updated October 16, 2026
 AC repair
 Furnace & heating
 Heat pumps
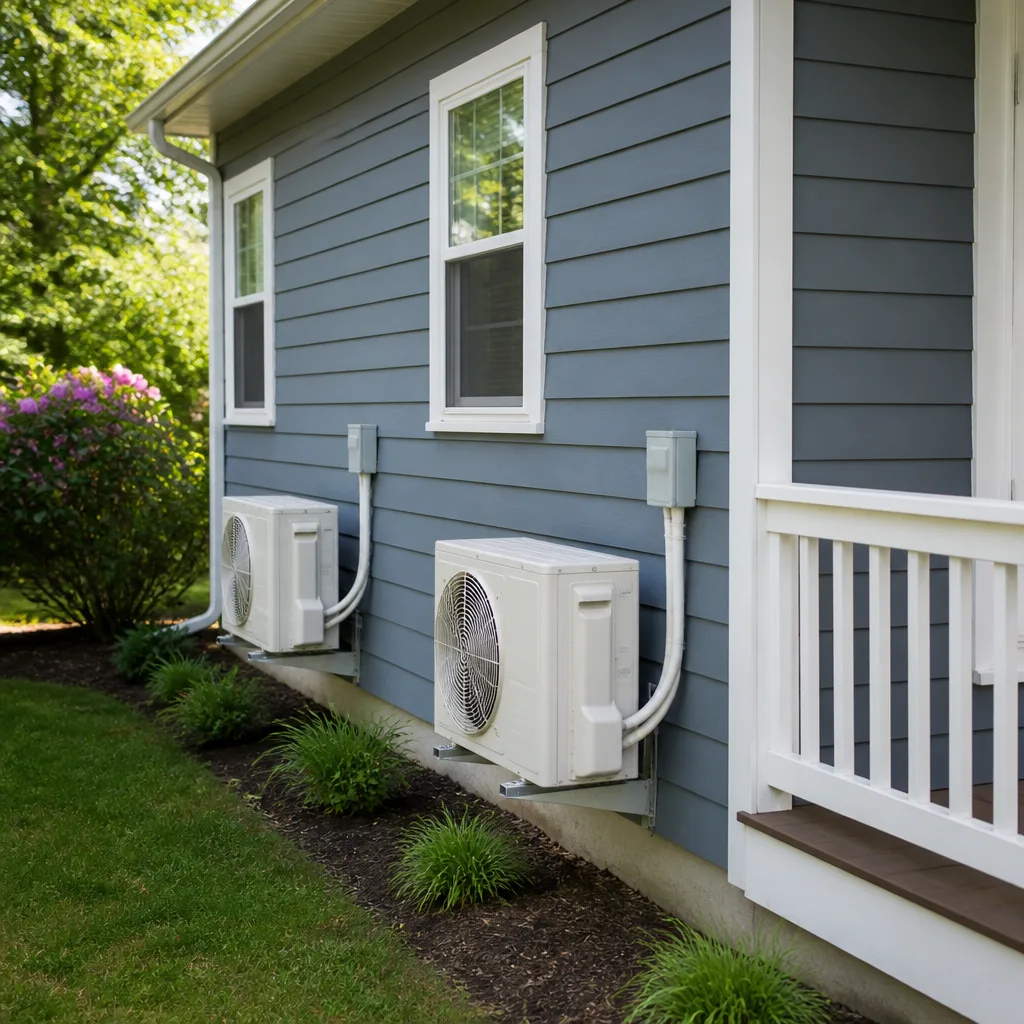 Ductless mini splits
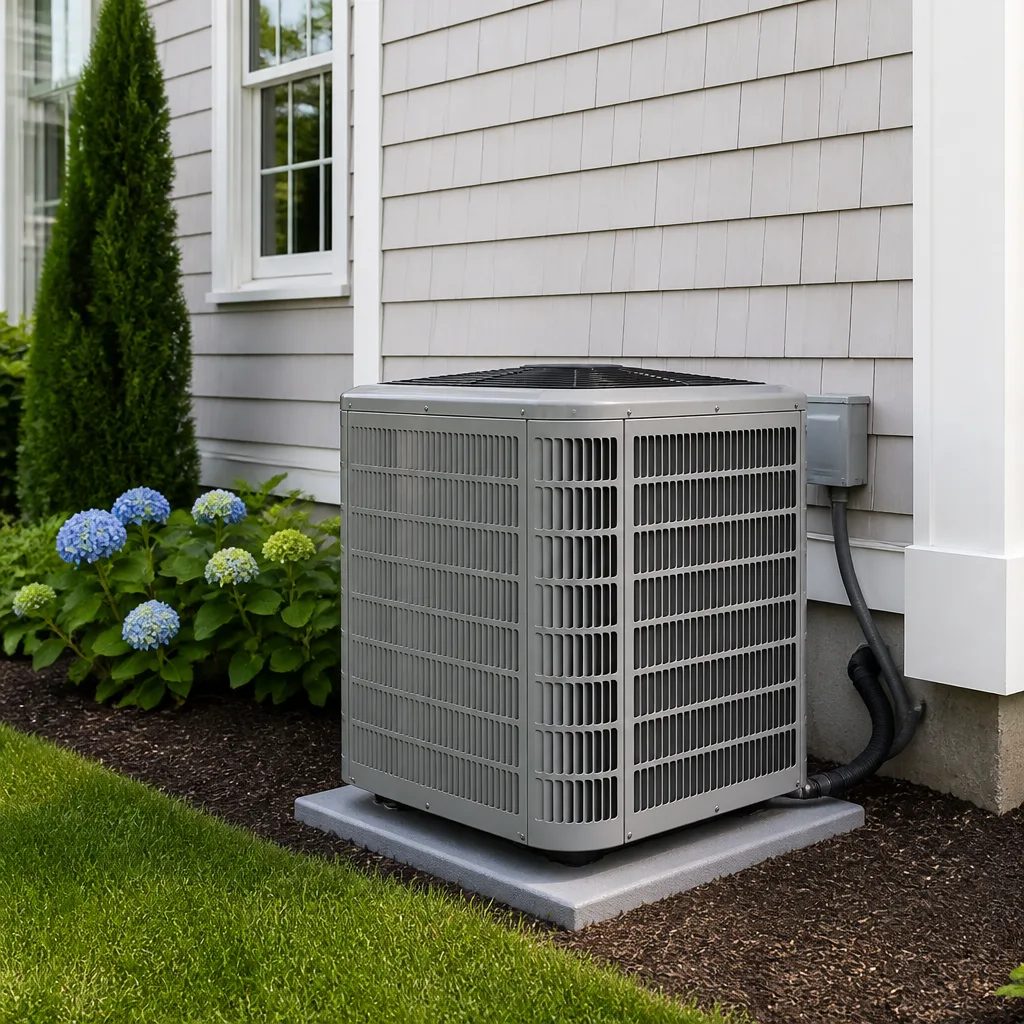 Carrier
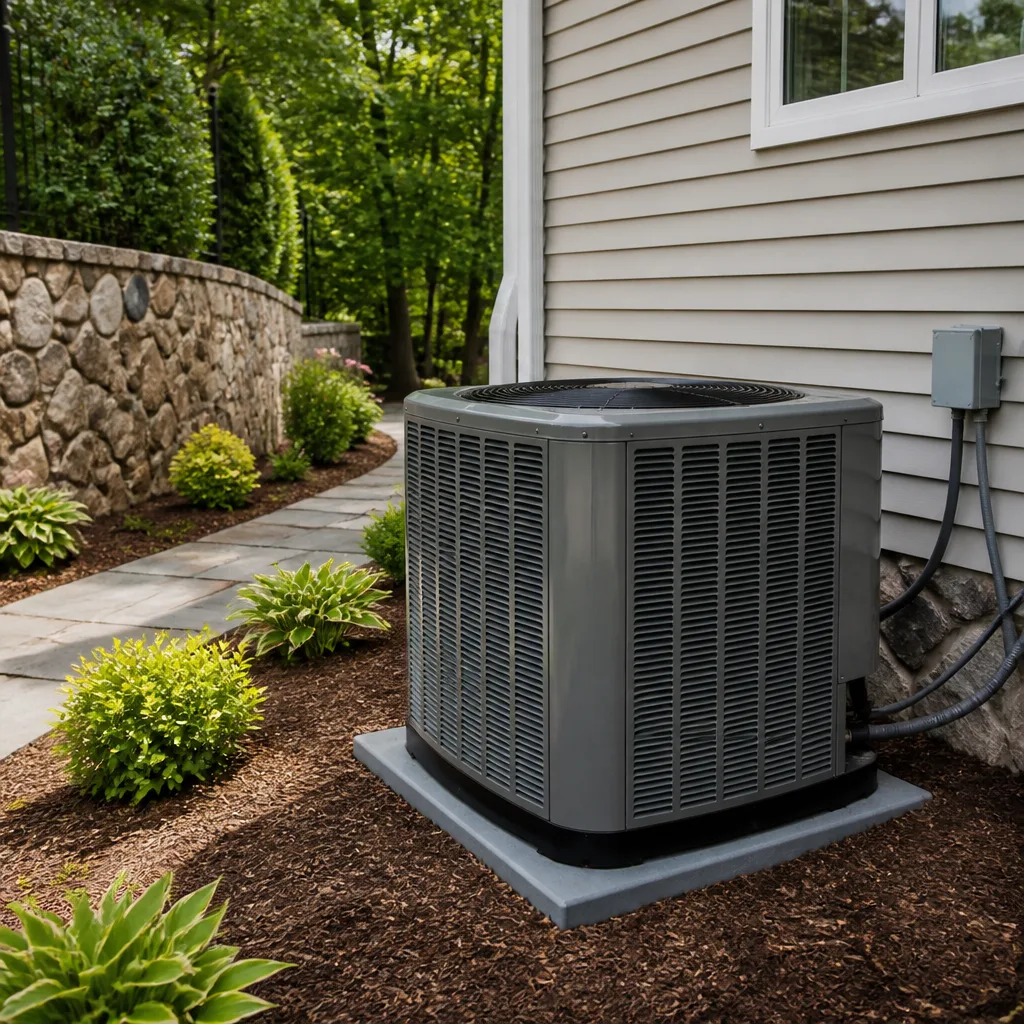 Trane
Trane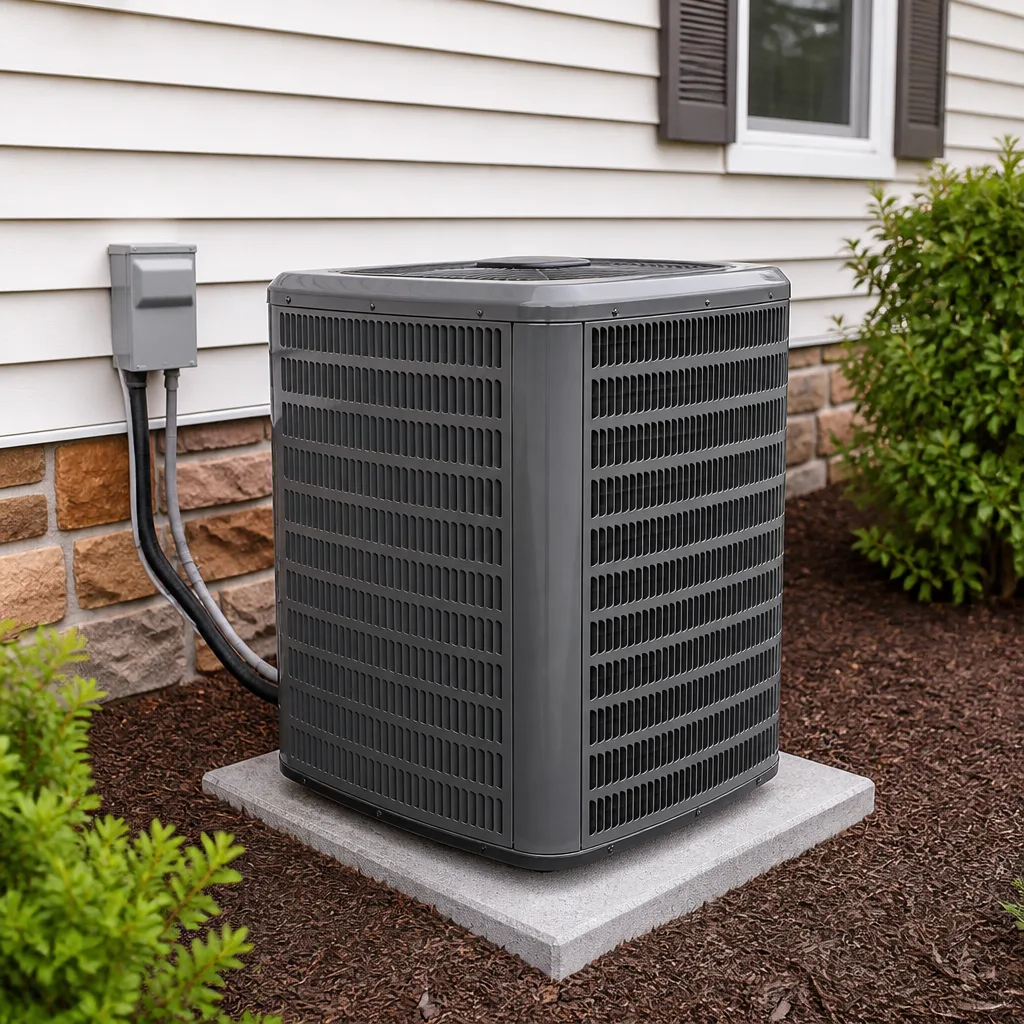 Goodman
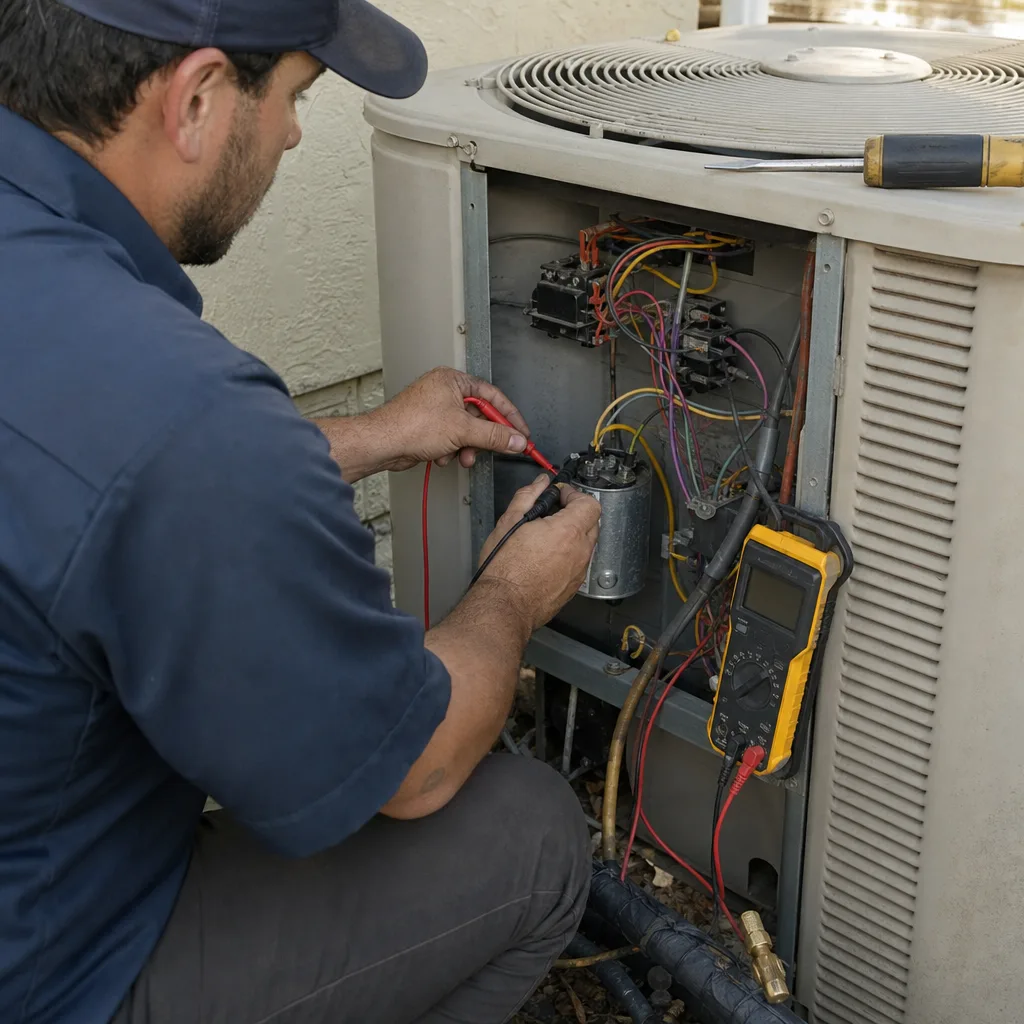
Seasonal tune-up and full diagnostic on your Carrier, Trane, or Goodman system - readings shown to you before any repair is proposed
Diagnosis first, numbers second - you approve the repair price before a single part goes in.
Get your free estimateAC Repair Maintenance Checklist for Miami Homeowners
Condensate drain lines in Miami can grow enough biological slime to clog completely in as little as 30 days during peak summer. Most checklists say “flush the drain annually.” That interval is wrong for this city. Miami’s heat and humidity attack AC systems differently than anywhere else in the continental United States, and a generic maintenance schedule misses the three tasks that actually keep a Miami system running: coil cleaning frequency, drain flushing in mold-prone humidity, and refrigerant verification after thermal cycling. This guide is built around what Miami’s climate destroys first, so you’ll know exactly what to check, how often to check it, and when a problem is beyond what a homeowner should handle alone. For more context, see The Complete Guide to HVAC in Miami.
Styles & brands we work with
Quick Answer
An AC maintenance checklist for Miami should be built around monthly condensate drain flushes, coil cleaning every 60 to 90 days, and refrigerant verification at the start of each cooling season. The defining Miami-specific tasks are drain line flushing (every 30 days in summer), blower wheel cleaning (every 12 to 18 months), and a refrigerant drift check before the rainy season. Most systems need AC Repair services or a professional inspection once a year in Miami, but the homeowner-level checks below are what prevent the common mid-August failures.
Table of Contents
- Why Miami’s Climate Demands a Different Checklist
- Monthly Maintenance Tasks for Miami Homeowners
- How to Flush a Condensate Drain Line in Miami
- Coil Cleaning in Humid Air: Why Every 60 Days Matters
- The Blower Wheel Task Most Technicians Skip
- Checking Refrigerant Drift Without Gauges
- What to Photograph Before a Technician Arrives
- Common Mistakes to Avoid
- When to Call a Professional
- Frequently Asked Questions
- The Bottom Line
Why Miami’s Climate Demands a Different Checklist
National AC maintenance guides assume four seasons and a winter shutdown. Miami does not work that way. Air conditioners in Miami run 2,000 to 3,000 hours per year, compared with 800 to 1,200 hours in most of the country. That continuous runtime accelerates every wear item, but it also changes which failures happen first. In dry climates, capacitor failures and contactor wear dominate. In Miami, the failure cascade starts with biological growth in the condensate system, then moves to airflow restriction from fouled evaporator coils and blower wheels, then finally to refrigerant leaks at brazed joints stressed by repeated thermal cycling. This means the standard national checklist, with its emphasis on fall furnace prep and spring AC startup, misses the exact tasks a Miami homeowner needs most. Our maintenance recommendations follow the same order of priority our technicians use on AC Repair in Miami calls: drains first, airflow second, refrigerant third.
Monthly Maintenance Tasks for Miami Homeowners
These are the checks you can do yourself in under 20 minutes. They require no tools beyond a wet-dry vacuum, a flashlight, and your phone camera. Do them on the first weekend of every month, year-round, because Miami’s cooling season never really ends.
- Check the drain pan and drain line opening. Look for standing water, slime, or a musty smell at the indoor air handler. In Miami’s humidity, a slow drain becomes a clog within weeks. If you see standing water, the line is already partially blocked and needs a flush that day, not next month.
- Inspect the air filter. Miami’s airborne mold spores, sea salt, and construction dust load filters faster than almost any market in the country. A 1-inch filter typically lasts 30 days here, not 90. If the filter looks gray or you can’t see the pleats clearly, replace it. A clogged filter raises evaporator coil temperature and accelerates mold growth on the coil surface.
- Walk the outdoor condenser. Check for leaves, grass clippings, mulch, or palm fronds against the coil fins. Miami landscaping grows fast, and a condenser half-blocked by vegetation can raise head pressure enough to trip thermal overloads on the compressor. Clear a 24-inch radius around the unit.
- Run the system for 10 minutes and listen. You’re listening for a change in sound: a hissing at the indoor coil (often refrigerant), a grinding at the blower (bearing wear), or a rattling from the condenser fan. Your ear is the first diagnostic tool.
- Check the thermostat reading against a thermometer. Place a household thermometer near a return grille. If the difference between return air and supply air is less than 15 degrees Fahrenheit, something is reducing efficiency, usually airflow or refrigerant charge.
Keep a simple log on your phone or a notepad. Date, filter condition, drain condition, any sound changes. When a technician does arrive, that log is the single most useful diagnostic document you can provide, and it takes you 30 seconds per month to maintain.
How to Flush a Condensate Drain Line in Miami
This is the single most important homeowner maintenance task in Miami, and it is the one most national checklists get wrong. In dry climates, an annual drain flush is usually enough. In Miami’s 75 percent average relative humidity, biological growth in a condensate line can reach a clogging state in 30 days. The water sitting in the drain trap is warm, dark, and continuously replenished with organic material from air passing through the coil. It is a perfect incubator for the slime that eventually backs water into your drain pan and then onto your ceiling or floor. Most water damage claims on Miami AC systems start as a clogged condensate drain.
Step-by-Step: Flushing the Drain Line
- Locate the drain line access point. At the indoor air handler, you’ll see a PVC pipe, usually 3/4 inch, leaving the unit. Look for a vertical tee with a cap. That cap is your access point. If there’s no tee, you can still work from the drain opening at the pan.
- Pour one cup of distilled white vinegar into the line. Vinegar dissolves mineral scale and kills the bacteria that form slime. Do NOT use bleach. Bleach corrodes the PVC over time and can crack the drain pan on some models. It also produces fumes that can be pulled into the air stream.
- Let it sit for 20 to 30 minutes. This gives the vinegar time to break down biofilm on the pipe walls. During peak summer, you may see a small amount of dissolved material flow out the other end.
- Flush with warm water. Pour two cups of warm water through the line to push loosened material out. The outflow should be clear. If the water level rises in the access tee instead of draining, you have a clog that needs mechanical clearing.
- Attach a wet-dry vacuum to the outside drain outlet. The outlet is usually a PVC stub near the condenser. Use a rag to seal the connection between the hose and the pipe, then run the vacuum for 60 seconds. This pulls out what the vinegar loosened. You should hear the pitch of the vacuum change as the line clears.
When the Drain Line Is Too Far Gone to DIY
If the flush produces no outflow, or if water has already backed up into the secondary drain pan, the clog is likely in a horizontal run or at a fitting you cannot access. A technician uses a nitrogen charge or a specialized drain gun to clear it without risking pipe damage. If your house has a condensate pump (common in Miami homes where the air handler sits in a closet or attic), the pump itself may have failed, and that is a service part, not a flush. A failed pump will still trip the overflow switch and shut down the system even with a clean line.
Coil Cleaning in Humid Air: Why Every 60 Days Matters
The evaporator coil inside your air handler is where refrigerant absorbs heat from your home’s air. In Miami’s humidity, that coil is also where every dust particle, pollen grain, and mold spore in your air stream lands on a wet surface and sticks. Within 60 to 90 days of runtime, the coil can develop a biofilm layer thin enough to be invisible but thick enough to reduce heat transfer by 15 to 20 percent. That means your system runs longer to hit the same temperature, which raises your electric bill, which for most Miami homeowners is already the highest monthly utility expense.
You cannot safely clean the evaporator coil yourself. It sits behind an access panel in the air handler, and coil cleaning involves chemical agents that can damage the coil if applied incorrectly. But you can do two things that slow the fouling: replace the air filter monthly (the filter is the coil’s first line of defense), and visually inspect the coil whenever a technician has the panel off. Ask the technician to show you the coil on camera before and after cleaning. A reputable technician will do this without prompting. If the coil looks like it has a gray fuzz layer, the cleaning was overdue, and your system has been running inefficiently for at least a month.
The outdoor condenser coil is more accessible. Rinse it with a garden hose every 60 days during the growing season. Do not use a pressure washer, which folds the aluminum fins flat and permanently reduces heat rejection. Use a gentle fan-spray nozzle, and rinse from the top down so debris falls away from the unit. If the condenser coil has significant dirt between the fin rows, it requires a professional cleaning with a foaming agent, which is a standard part of what we include in a Miami AC repair and maintenance visit.
The Blower Wheel Task Most Technicians Skip
Ask a Miami homeowner to name the dirtiest part of their AC system and most will say the filter. The real answer is the blower wheel. This is the squirrel-cage fan inside the air handler that moves air across the evaporator coil and through your ducts. Every particle that gets past the filter lands on the blower wheel blades. In humid air, those particles stick. Over 12 to 18 months, the blower wheel can accumulate enough caked material to reduce airflow by 25 percent or more, and the wheel becomes unbalanced, which wears out the blower motor bearings.
This is the task that produces the largest efficiency losses in humid climates, and it is routinely skipped on budget maintenance visits because the blower wheel is awkward to access. Blower removal requires disconnecting power, pulling the blower housing, and often removing the wheel from the motor shaft with a hub puller. It is 30 to 45 minutes of work that a flat-price maintenance plan may not include. If you have never had the blower wheel cleaned, and your system is more than three years old, make it the first thing you ask about when you call for service. The improvement in airflow is often strong enough to notice at the registers within one cycle. Systems we work on in Miami, from older Trane air handlers to newer Goodman units, all accumulate this buildup at similar rates because the humidity drives the accumulation, not the brand.
Checking Refrigerant Drift Without Gauges
Refrigerant does not get used up like oil. A sealed system holds the same charge indefinitely unless there is a leak. But Miami’s heat stress accelerates micro-leaks at brazed joints, Schrader valves, and coil U-bends. The repeated expansion and contraction from 160-degree condenser coil temperatures (common on a Miami summer afternoon) followed by overnight cooldowns slowly works joints loose. A system in Miami is more likely to develop a slow refrigerant leak than the same system in a cooler climate, simply because of thermal cycling frequency.
You cannot check the refrigerant charge accurately without manifold gauges and a trained eye, and attempting to do it yourself is dangerous because the system operates at pressures high enough to cause frostbite or worse. But you can spot the signs of low charge before the system fails outright:
- Ice on the larger copper line at the condenser. A light frost on the suction line means the evaporator is starving and the refrigerant is boiling off too early. This is the clearest visible symptom of low charge.
- Longer run times with no change in setpoint. If the AC runs 45 minutes to drop two degrees on a mild evening, the system is losing capacity. Low charge is a common cause, though airflow restriction mimics this symptom.
- A hissing or bubbling sound at the indoor coil when the system runs. This is refrigerant flashing in the coil, a sign the charge has fallen below the design range.
- Rising humidity inside the house despite the AC running. A properly charged system dehumidifies as it cools. Low charge reduces coil temperature control, which reduces moisture removal.
A refrigerant charge verification should happen once a year in Miami, ideally in April or May before the rainy season starts. If you suspect a leak, documenting the symptoms above before calling a technician shortens the diagnostic time and means you pay for less troubleshooting. Our Miami AC installation and replacement work always includes a full charge verification on the new system, and we recommend annual verification on systems over five years old.
What to Photograph Before a Technician Arrives
When you call for AC maintenance in Miami, you should have a photographic record of your system’s condition before the technician starts work. This serves two purposes. First, it gives the technician a baseline to compare against. Second, it creates accountability for the work actually being performed, which matters in an industry where flat-price maintenance visits sometimes skip the most labor-intensive tasks.
Photograph these items before the technician arrives:
- The data plate on the condenser and the air handler. This shows model number, serial number, and electrical specifications. The technician can verify the correct parts are ordered before the visit.
- The condenser coil from two angles. A clear photo shows whether the coil fins are covered in debris before the technician begins. Compare it after the visit to verify cleaning was actually done.
- The air filter in place. If the technician replaces the filter, you have the before and after.
- The indoor drain pan and any visible drain line. Standing water or slime in the pan before the visit tells the technician this is a drain problem, not just routine maintenance.
- Any ice, frost, or water stains on the air handler cabinet, the ceiling below an attic unit, or the wall below a closet install. These location-specific signs indicate component failure and point to the source.
- The thermostat reading at the time of the call. Room temperature and setpoint provide a baseline for the technician’s efficiency check.
Take the photos on your phone, date-stamped automatically. They take two minutes total. When the technician arrives, you will be able to show them exactly what you saw, and after the work, you can verify the condition changed. A maintenance visit where the condenser coil photo looks identical before and after is a visit where the coil was not cleaned.
Common Mistakes to Avoid
- Following a national maintenance calendar. A checklist written for a homeowner in Ohio has a spring “startup” and a fall “shutdown.” Miami systems run year-round. Seasonal resets based on snow seasons do not apply here, and following them means you delay drain flushing and coil cleaning exactly when Miami’s biology is most active.
- Using bleach in the condensate line. Bleach is corrosive to PVC and can crack drain pans. White vinegar or an enzyme-based drain cleaner is safer and more effective against the biofilm that clogs Miami drain lines.
- Replacing the filter every 90 days. That interval works in dry climates with short cooling seasons. In Miami’s humidity, a 30-day filter interval is the realistic maximum, and homes with pets, carpet, or nearby construction often need replacements every two weeks.
- Pressure washing the condenser coil. A pressure washer folds the aluminum fins and permanently reduces heat rejection. Use a garden hose with a fan nozzle, or have a technician perform a professional foam cleaning.
- Ignoring a slow drain. A condensate drain that drains slowly but is not fully clogged will still overflow during a long Miami summer afternoon. By the time water appears at the ceiling, the drain has already backed up through the emergency pan or overflow switch, and you may be looking at drywall damage on top of the AC repair.
- Assuming the filter is the only airflow issue. The blower wheel and evaporator coil accumulate buildup that the filter never catches. If you replace the filter monthly and airflow is still weak at the registers, the restriction is downstream, and no filter change will fix it.
When to Call a Professional
Several maintenance tasks are genuinely dangerous for a homeowner to attempt, and the cost of a mistake far exceeds the cost of a professional visit. Do not open the air handler electrical panel if you are not trained in electrical safety, and do not attempt any work that involves the refrigerant circuit, which operates at pressures that can cause frostbite or eye injury. If your monthly checks reveal ice on the refrigerant lines, a burning smell from the air handler, water that keeps returning to the drain pan after you flush the line, or a system that runs constantly without cooling, stop the DIY work and call a technician. Cold Harbour Heating and Air Miami offers free estimates in Miami, and our Miami home comfort maintenance visits include the drain flush, coil inspection, blower wheel assessment, and refrigerant check as a single package. Call (850) 810-1910 to schedule.
Frequently Asked Questions
Every 30 days during the summer and every 60 days the rest of the year. Miami’s humidity creates biological growth in condensate drain lines faster than any climate in the continental U.S., and monthly flushing with white vinegar is the minimum interval that prevents clogs before they start. If you miss a month, you are risking a water backup that can damage ceilings, walls, and flooring.
Yes, for most homes. Miami’s airborne mold spores, pollen, sea salt, and construction dust load a standard 1-inch filter in 30 days or less during the cooling season. A clogged filter starves the evaporator coil of airflow, which raises humidity inside the house and accelerates mold growth on the coil itself. Homes with pets, carpet, or active renovation may need replacements every two weeks.
Basic maintenance visits in the Miami market typically run $89 to $180, and a comprehensive visit that includes blower wheel cleaning and coil treatment typically runs $200 to $350. This is the price range to expect, and any quote significantly below it is likely skipping the labor-intensive tasks that matter. Call (850) 810-1910 for a written estimate before any work begins.
You should not attempt it. The blower wheel sits inside the air handler behind electrical connections, and removing it requires disconnecting power, pulling the blower housing, and often using a hub puller to separate the wheel from the motor shaft. A mistake can damage the motor shaft, warp the wheel, or cause an electrical injury. This is a professional task.
Look for ice or frost on the larger copper line at the condenser, longer run times with no drop in indoor temperature, a hissing or bubbling sound from the indoor coil, and rising indoor humidity despite the AC running. These are visible, audible signs that the charge has drifted below design range. Gauges are required to confirm the exact charge, and refrigerant work is never a DIY job.
Our 365-Day Done Right Promise applies to every repair we perform in Miami, and it is written down before the technician leaves. If a repair fails within that year, we return and correct the work at no charge. Maintenance findings that lead to a repair recommendation, and the repair itself, are covered by the same written promise.
The Bottom Line
Every Miami homeowner with an AC system needs a maintenance routine built around this city’s humidity, not a national template. Flush the condensate drain monthly, replace the filter monthly, rinse the condenser coil every 60 days, and have the blower wheel and refrigerant charge checked once a year. Document everything with photos so you can verify the work was actually done. These tasks take less than half an hour a month and they prevent the mid-August failures that leave Miami homes without cooling during the hottest weeks of the year. For more guides & resources, visit our blog. If you want a written maintenance plan that covers these priorities, call Cold Harbour Heating and Air Miami at (850) 810-1910 for a free estimate.
Written by Victor Mancini, Owner at Cold Harbour Heating and Air Miami, serving Miami since 2003.
See the difference
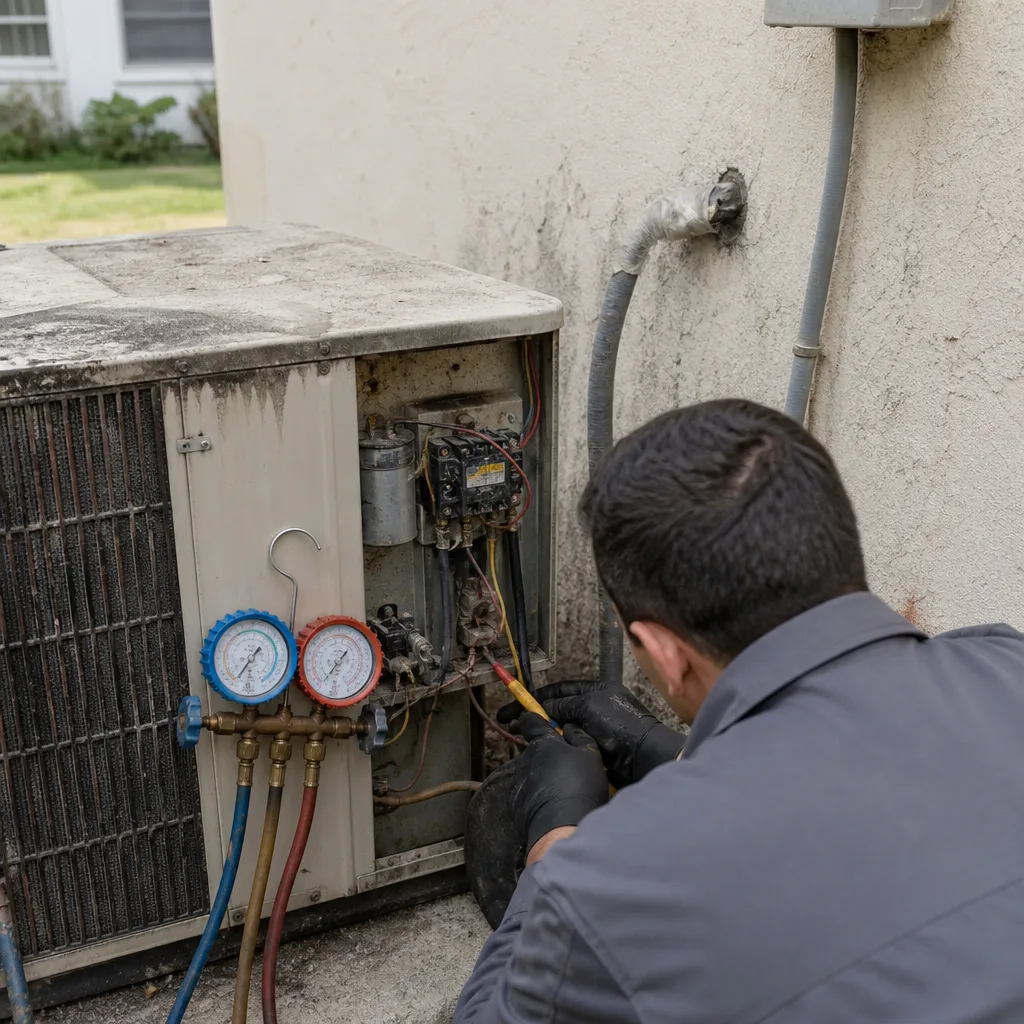 Before
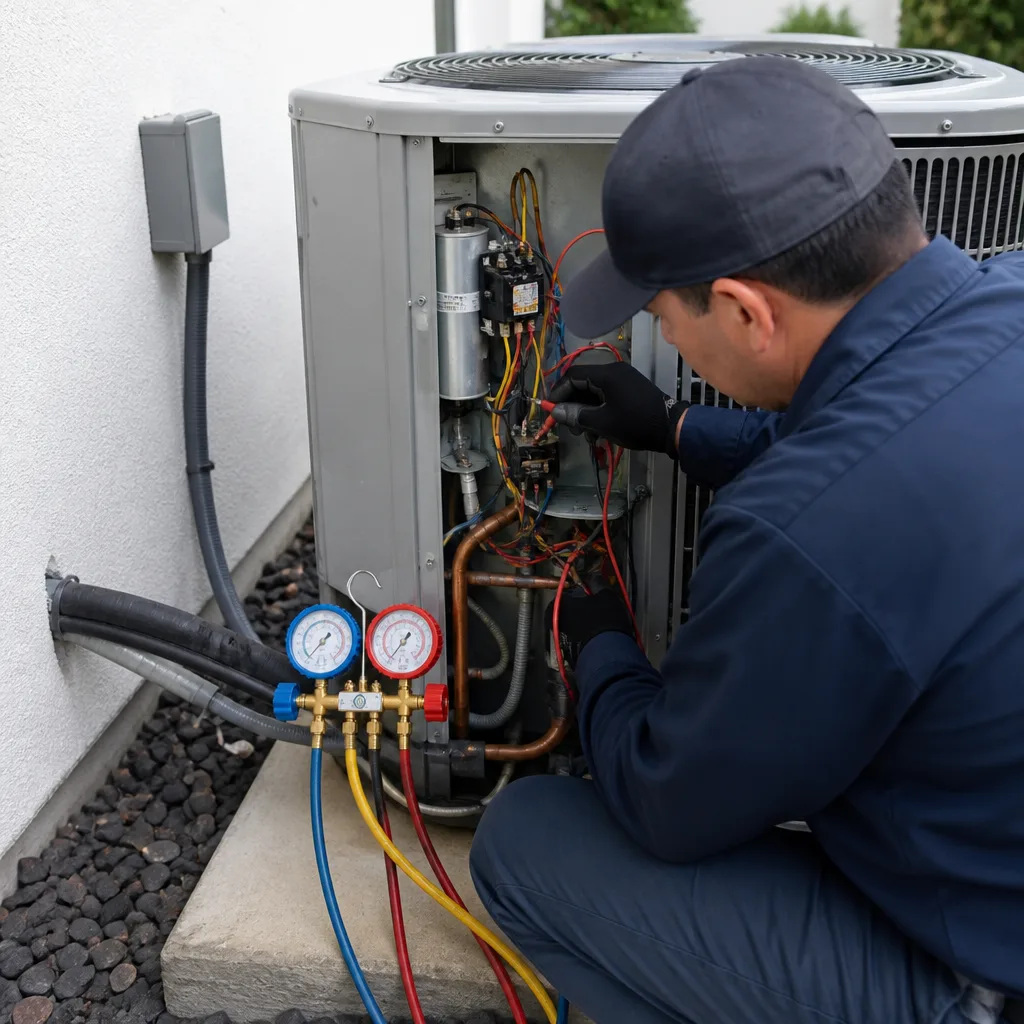 After
After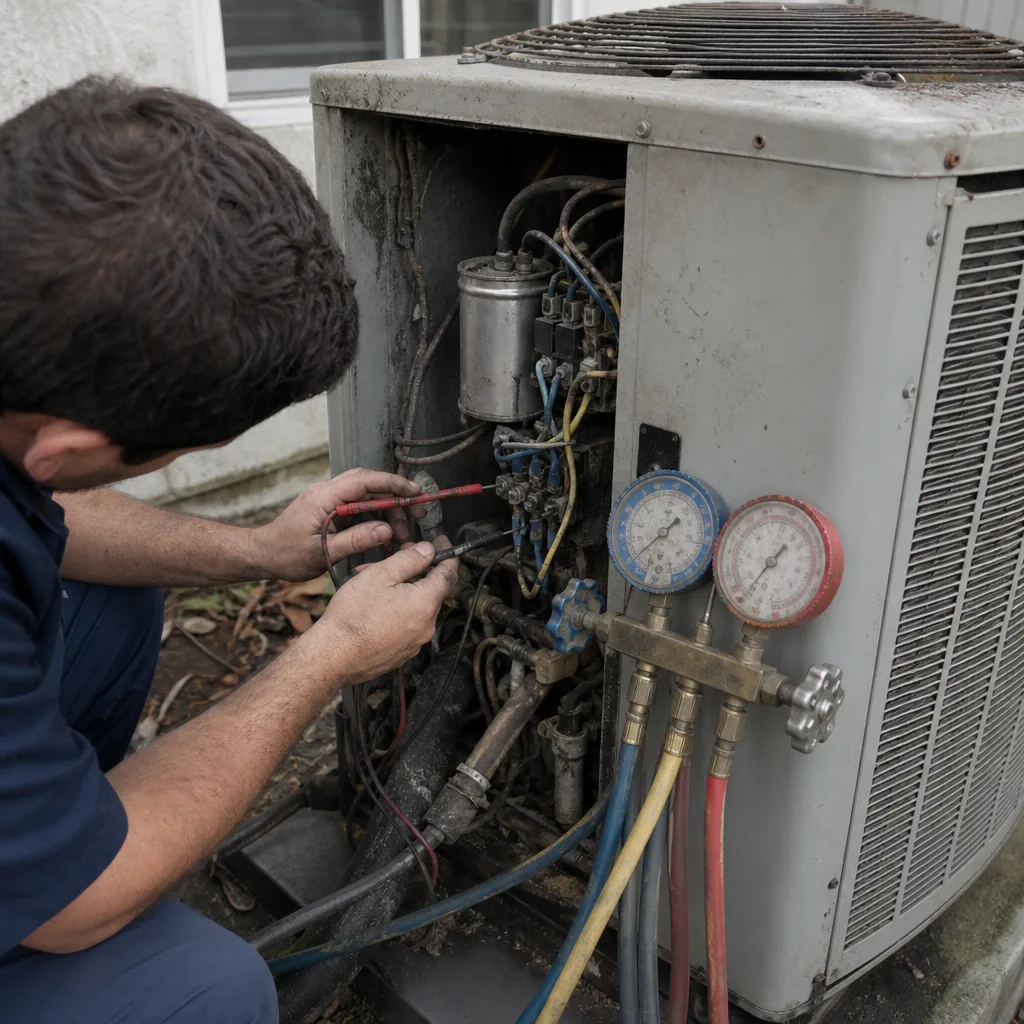 Before
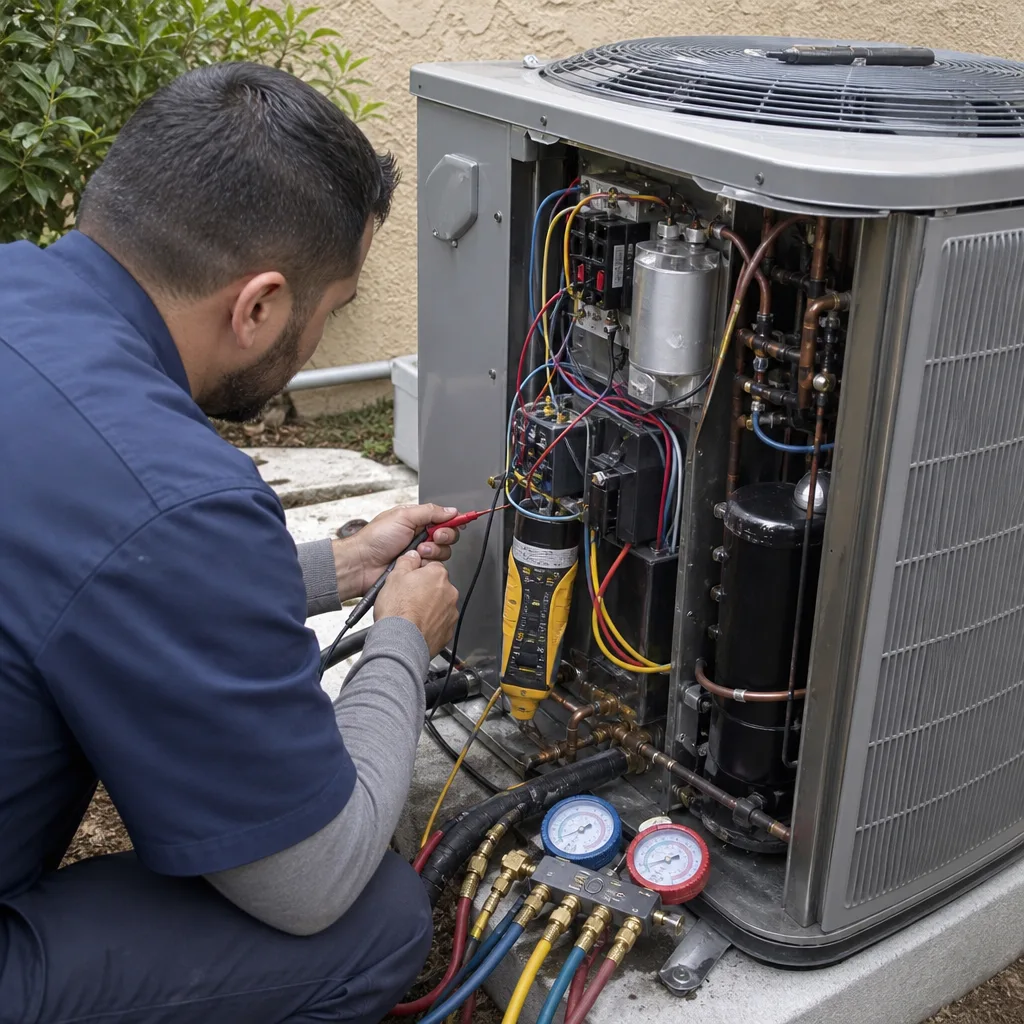 After
After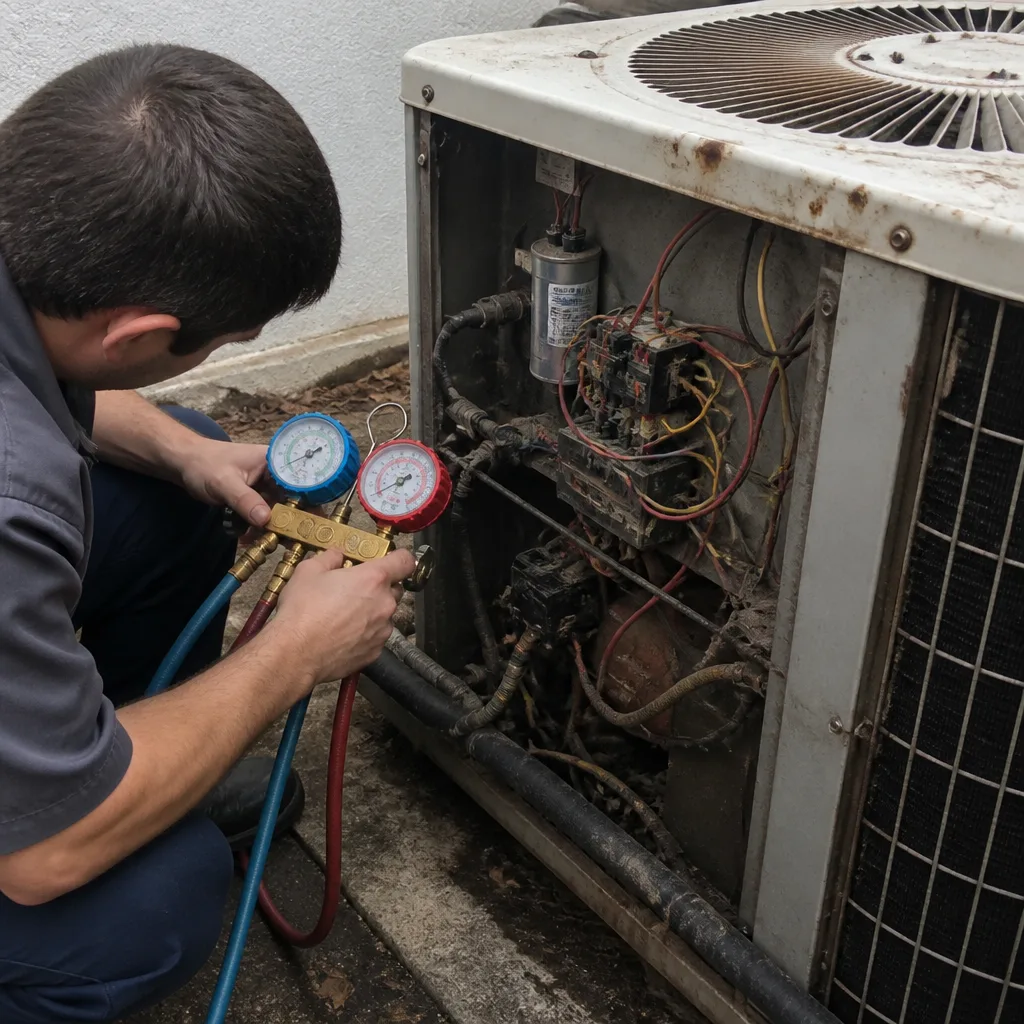 Before
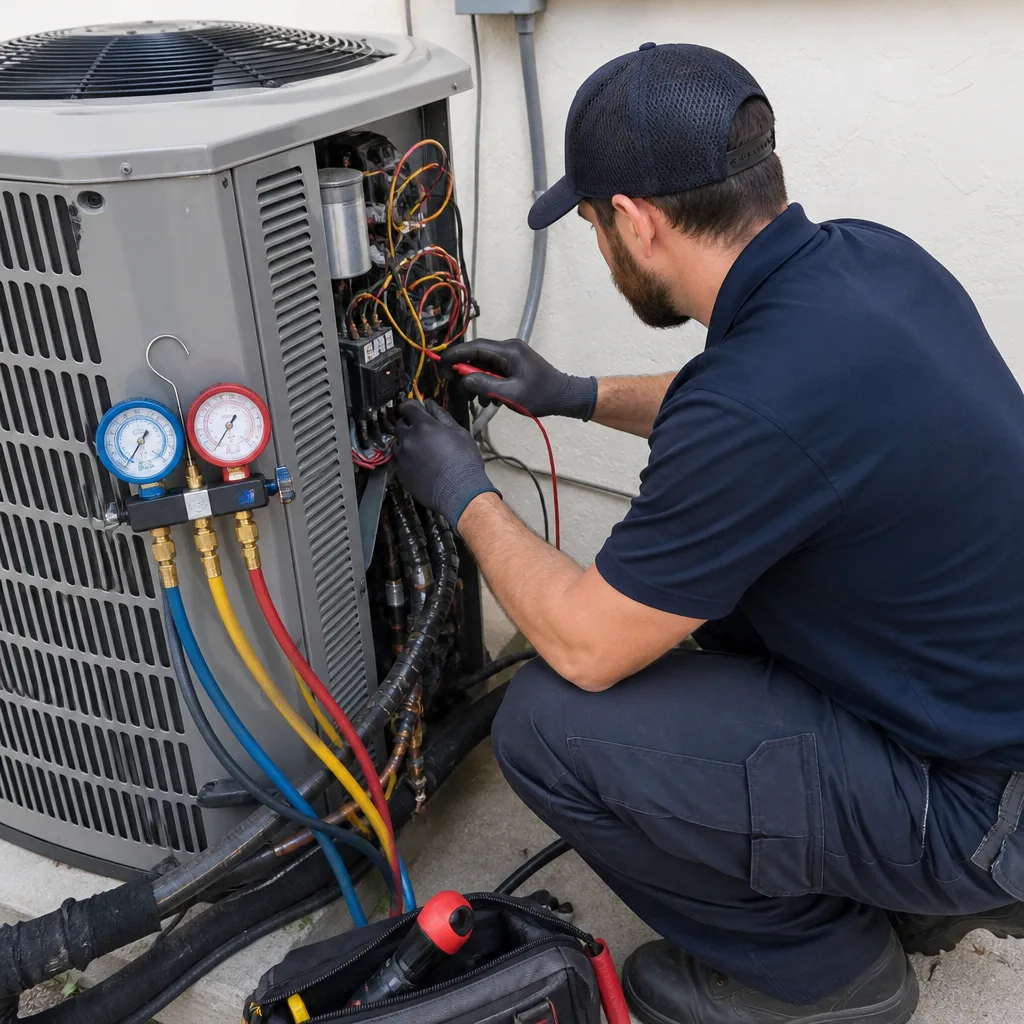 After
After